
Spring is a crucial time to give your lawn the best chance of success. Follow these 7 steps for an optimal start to the season.
Table of Contents10 sections
Table of Contents
Your Lawn's Spring Awakening
After a long winter, your lawn needs attention to regain its vigor. A good start in the spring often determines the quality of your turf for the entire season. Here are the 7 essential steps to follow in order.
Step 1: The Cleanup
As soon as the snow has melted and the ground begins to dry, pick up:
- Branches and debris accumulated over the winter
- Remaining dead leaves
- Clumps of dead grass (surface thatch)
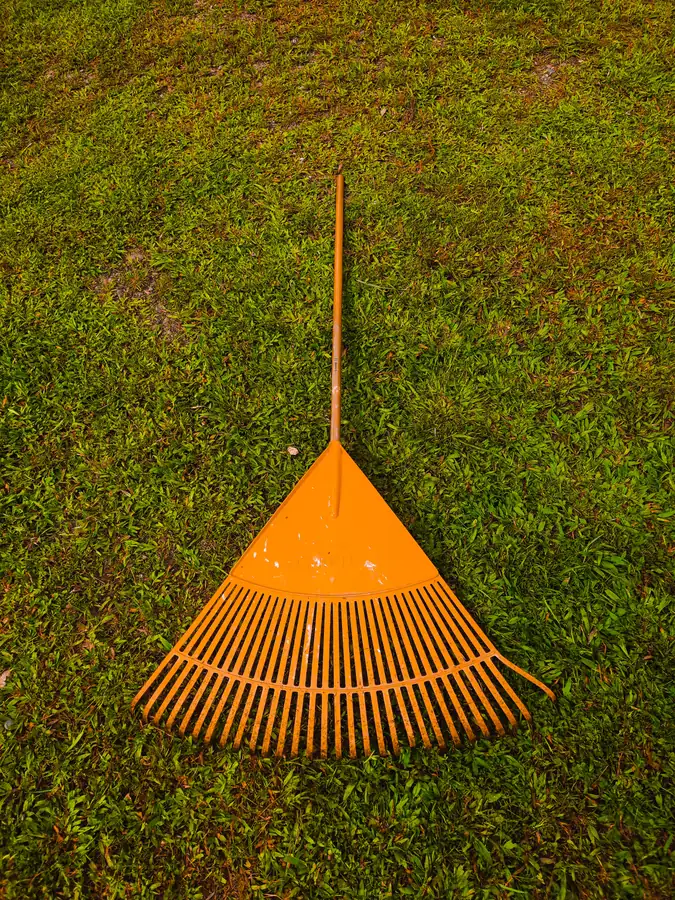
Use a leaf rake (not a hard-tine rake) to avoid damaging new shoots.
Step 2: Damage Assessment
Inspect your lawn for:
- Snow mold: grayish or pinkish circular patches
- Damage from de-icing salt: brown areas near driveways and sidewalks
- Frost heave: areas where the ground is uneven
- Rodent damage: tunnels or scraped areas
Help shape what comes next for LawnFan
The app is not available yet. Join the interest list for the beta planned for winter 2026–2027, or choose the newsletter for lawn tips and new articles.
Which signup should I choose?
Beta interest list: For expressing interest in testing the upcoming app. The button opens the form on the home page; invitations and timing will be confirmed later. Access is not guaranteed, and this signup does not subscribe you to the newsletter.
Newsletter: For seasonal tips, articles and project updates by email. The button takes you to the form at the end of this article’s content. You explicitly choose to receive these emails; this does not request beta access.
Step 3: The First Raking
A vigorous (but not aggressive) raking in the spring helps to:
- Remove accumulated thatch
- Stimulate air circulation at the soil level
- Straighten grass blades flattened by snow
- Expose the soil to the sun for faster warming
Wait until the ground is dry enough that you don't leave deep footprints.
Step 4: Aeration
If your soil is compacted (test: a screwdriver is difficult to push in), aeration is essential. Use a core aerator that removes small plugs of soil:
- Improves water, air, and nutrient penetration
- Reduces soil compaction
- Promotes root development
- The best time: when the soil is moist but not waterlogged
Step 5: Overseeding Bare Patches
For damaged or thin areas:
- Lightly scratch the surface with a rake
- Add a thin layer of topsoil (0.5 to 1 cm)
- Sow at the recommended density for your grass type
- Cover lightly with topsoil
- Water gently but regularly until germination
Tip: choose a seed mix adapted to your climate zone and the amount of sun your yard gets.
Step 6: The First Fertilization
Wait until your lawn has been mowed at least twice before fertilizing. This confirms that active growth is well underway.
- Use a slow-release fertilizer
- Recommended ratio: 20-5-10 or similar
- Apply early in the morning or late in the afternoon
- Water lightly after application
Step 7: Pre-emergent Treatment (if necessary)
If annual weeds (crabgrass, barnyardgrass) are a recurring problem, a pre-emergent herbicide can be applied in the spring. Timing is crucial:
- Apply when the soil temperature reaches 10°C (50°F) for 3 consecutive days
- Generally when forsythias begin to bloom
- Important: do not combine pre-emergent and overseeding — the product also prevents your grass seeds from germinating
Spring Checklist Summary
| Period | Action |
| As soon as snow melts | Cleanup and assessment |
| Soil dry to the touch | Raking and aeration |
| Soil temperature > 10°C | Overseeding and pre-emergent |
| After 2 mowings | First fertilization |
Common Spring Mistakes
- Working on waterlogged soil: causes compaction
- Fertilizing too early: wastes fertilizer and can promote weeds
- Mowing too short: weakens the grass when it needs strength
- Ignoring problem areas: small problems become big if neglected
LawnFan sends you personalized alerts for each spring step, based on the actual weather conditions in your area.